how to make faux batik with glue
Creating a faux batik out of glue is an excellent safe alternative if hot wax and harsh chemicals don’t sound like much fun or if you would like to introduce your children to the art of batik without the danger of burns. Here’s a quick tutorial to get you going!
|
Materials
Cotton Muslin Fabric Washable Clear Gel Glue Household Dye Jars or Tubs to Hold Dye Paint Brushes Wooden Frame |
|
Before you start this project you will want to wash your fabric to ensure that any sizing or oils are washed out so that the dye penetrates the fabric evenly.
|
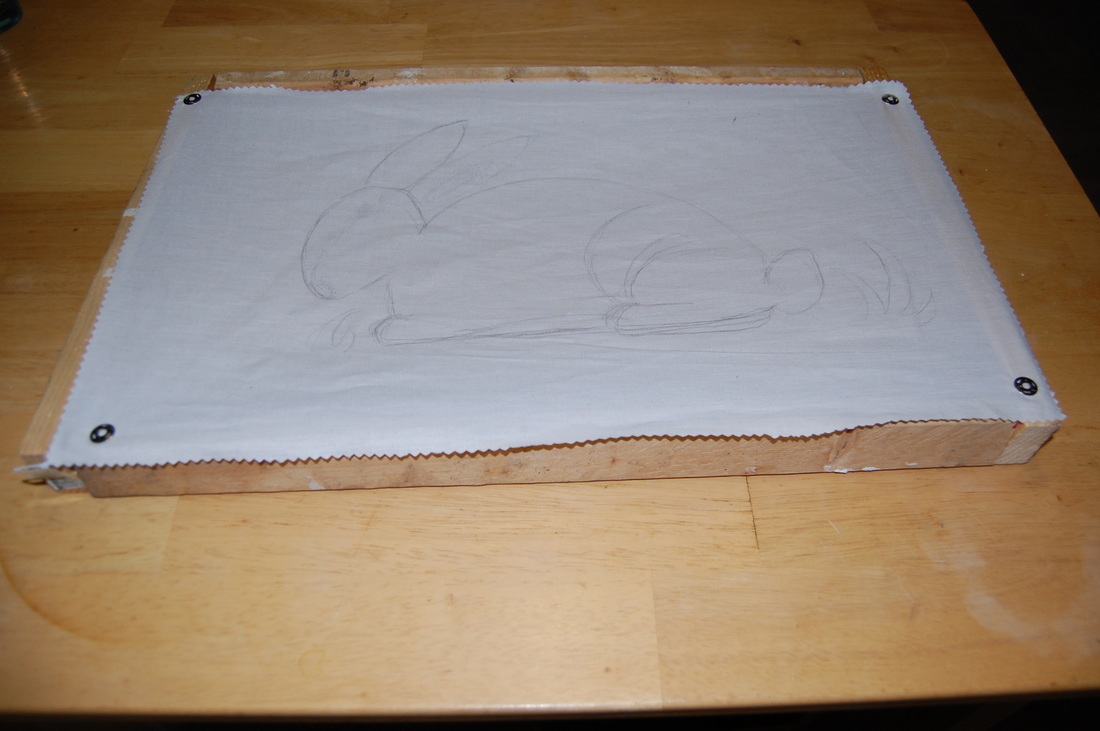
Once your fabric is dry you will need to decide upon an image that you want to create. You can either draw it out on a piece of paper and copy it to your fabric or if you are confident in your drawing skills you can draw it directly on the fabric.
|

|
Mix any dye you will be using for your project in either tubs for immersion dying or glass jars if you are painting the dye on to the fabric.
Your next step will be to pin your fabric to a frame so that you don’t glue the fabric onto your work surface.
Your next step will be to pin your fabric to a frame so that you don’t glue the fabric onto your work surface.
|
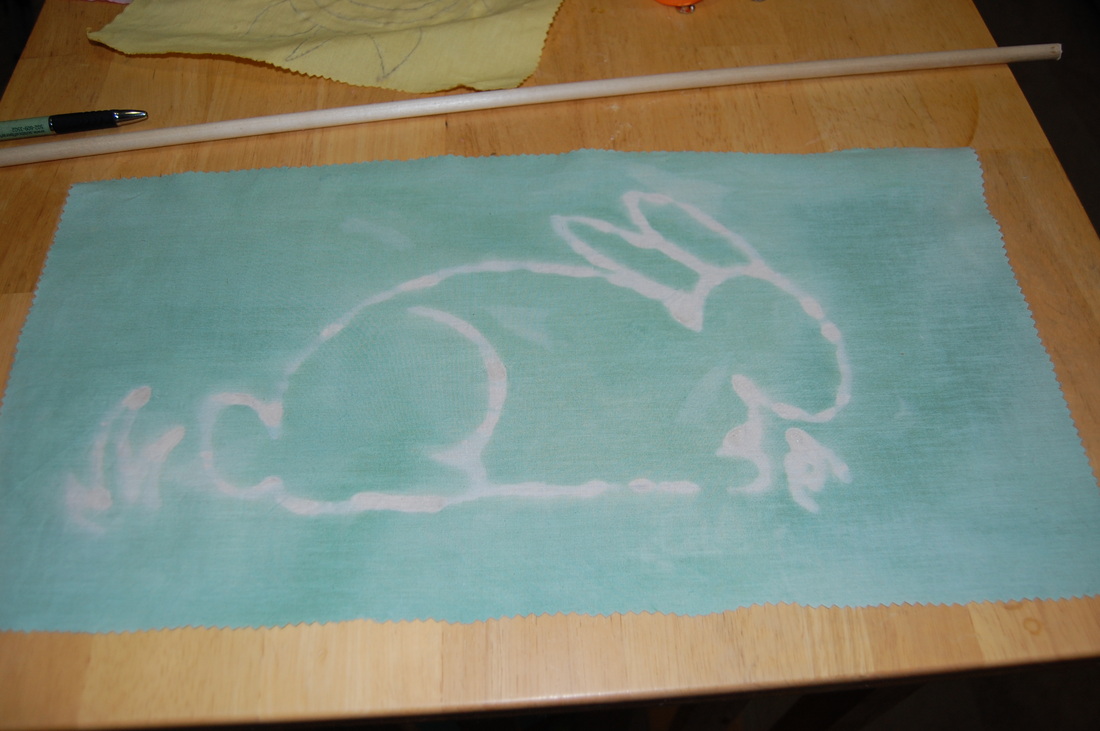
Now you’re ready to begin applying the glue to the fabric. There are two options for applying the glue. You can either squeeze the glue straight out of the bottle and onto the fabric. This method will produce a distinct sharp line, but can take a long time to dry. You can also use a paint brush to apply the glue. This will produce a thicker line that will not be as sharp. However, the glue will dry faster this way so that you can dye the fabric more quickly.
|
Once you have applied the glue you will have to wait for it to dry before moving on to the dying process. If you have the time then just sit the piece out to dry overnight and finish it the following day. If you are using this as a class project or workshop then it is best to use the painted method and provide a hairdryer for participants to dry their piece before dying.
|
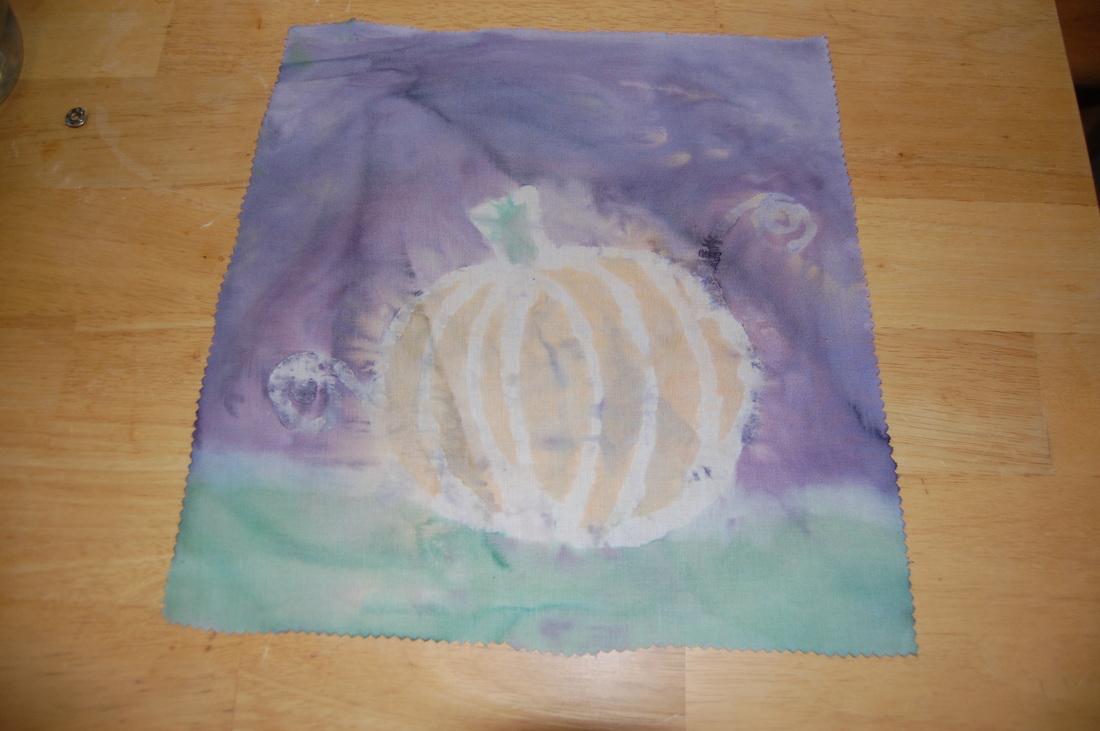
Once the glue is dried it is time to move on to dying. You can approach this two ways as well. If you are only interested in dying the piece one color you can simply tub dye the piece. However, if you want a piece with several colors you mix dye in individual glass jars and paint the dye on to the fabric.
|
|
Next you will need to let you piece dry before washing out the glue. Be sure not to hang it up when it too wet or the dye may run. Once the piece is dry you will want to run it under warm water with a bit of mild dish liquid in order to remove any excess dye and glue. Once it is sufficiently clean and dried I typically give my piece a quick iron to take out any wrinkles.
That’s all there is to it! I hope you enjoy!
That’s all there is to it! I hope you enjoy!
